Wednesday 17 April 2024

April Papermaze Kit - Part 1

Lynn here with the pretty Papermaze kit for April. There is a lovely range of colours, purples, pinks, greens and blues in this month's selection. I have been experimenting with Distress Watercolour Pencils and Distress Oxide Inks.


 Here are the details of what is in the kit:


Patterned Papers (photo below shows both sides of each of the papers)
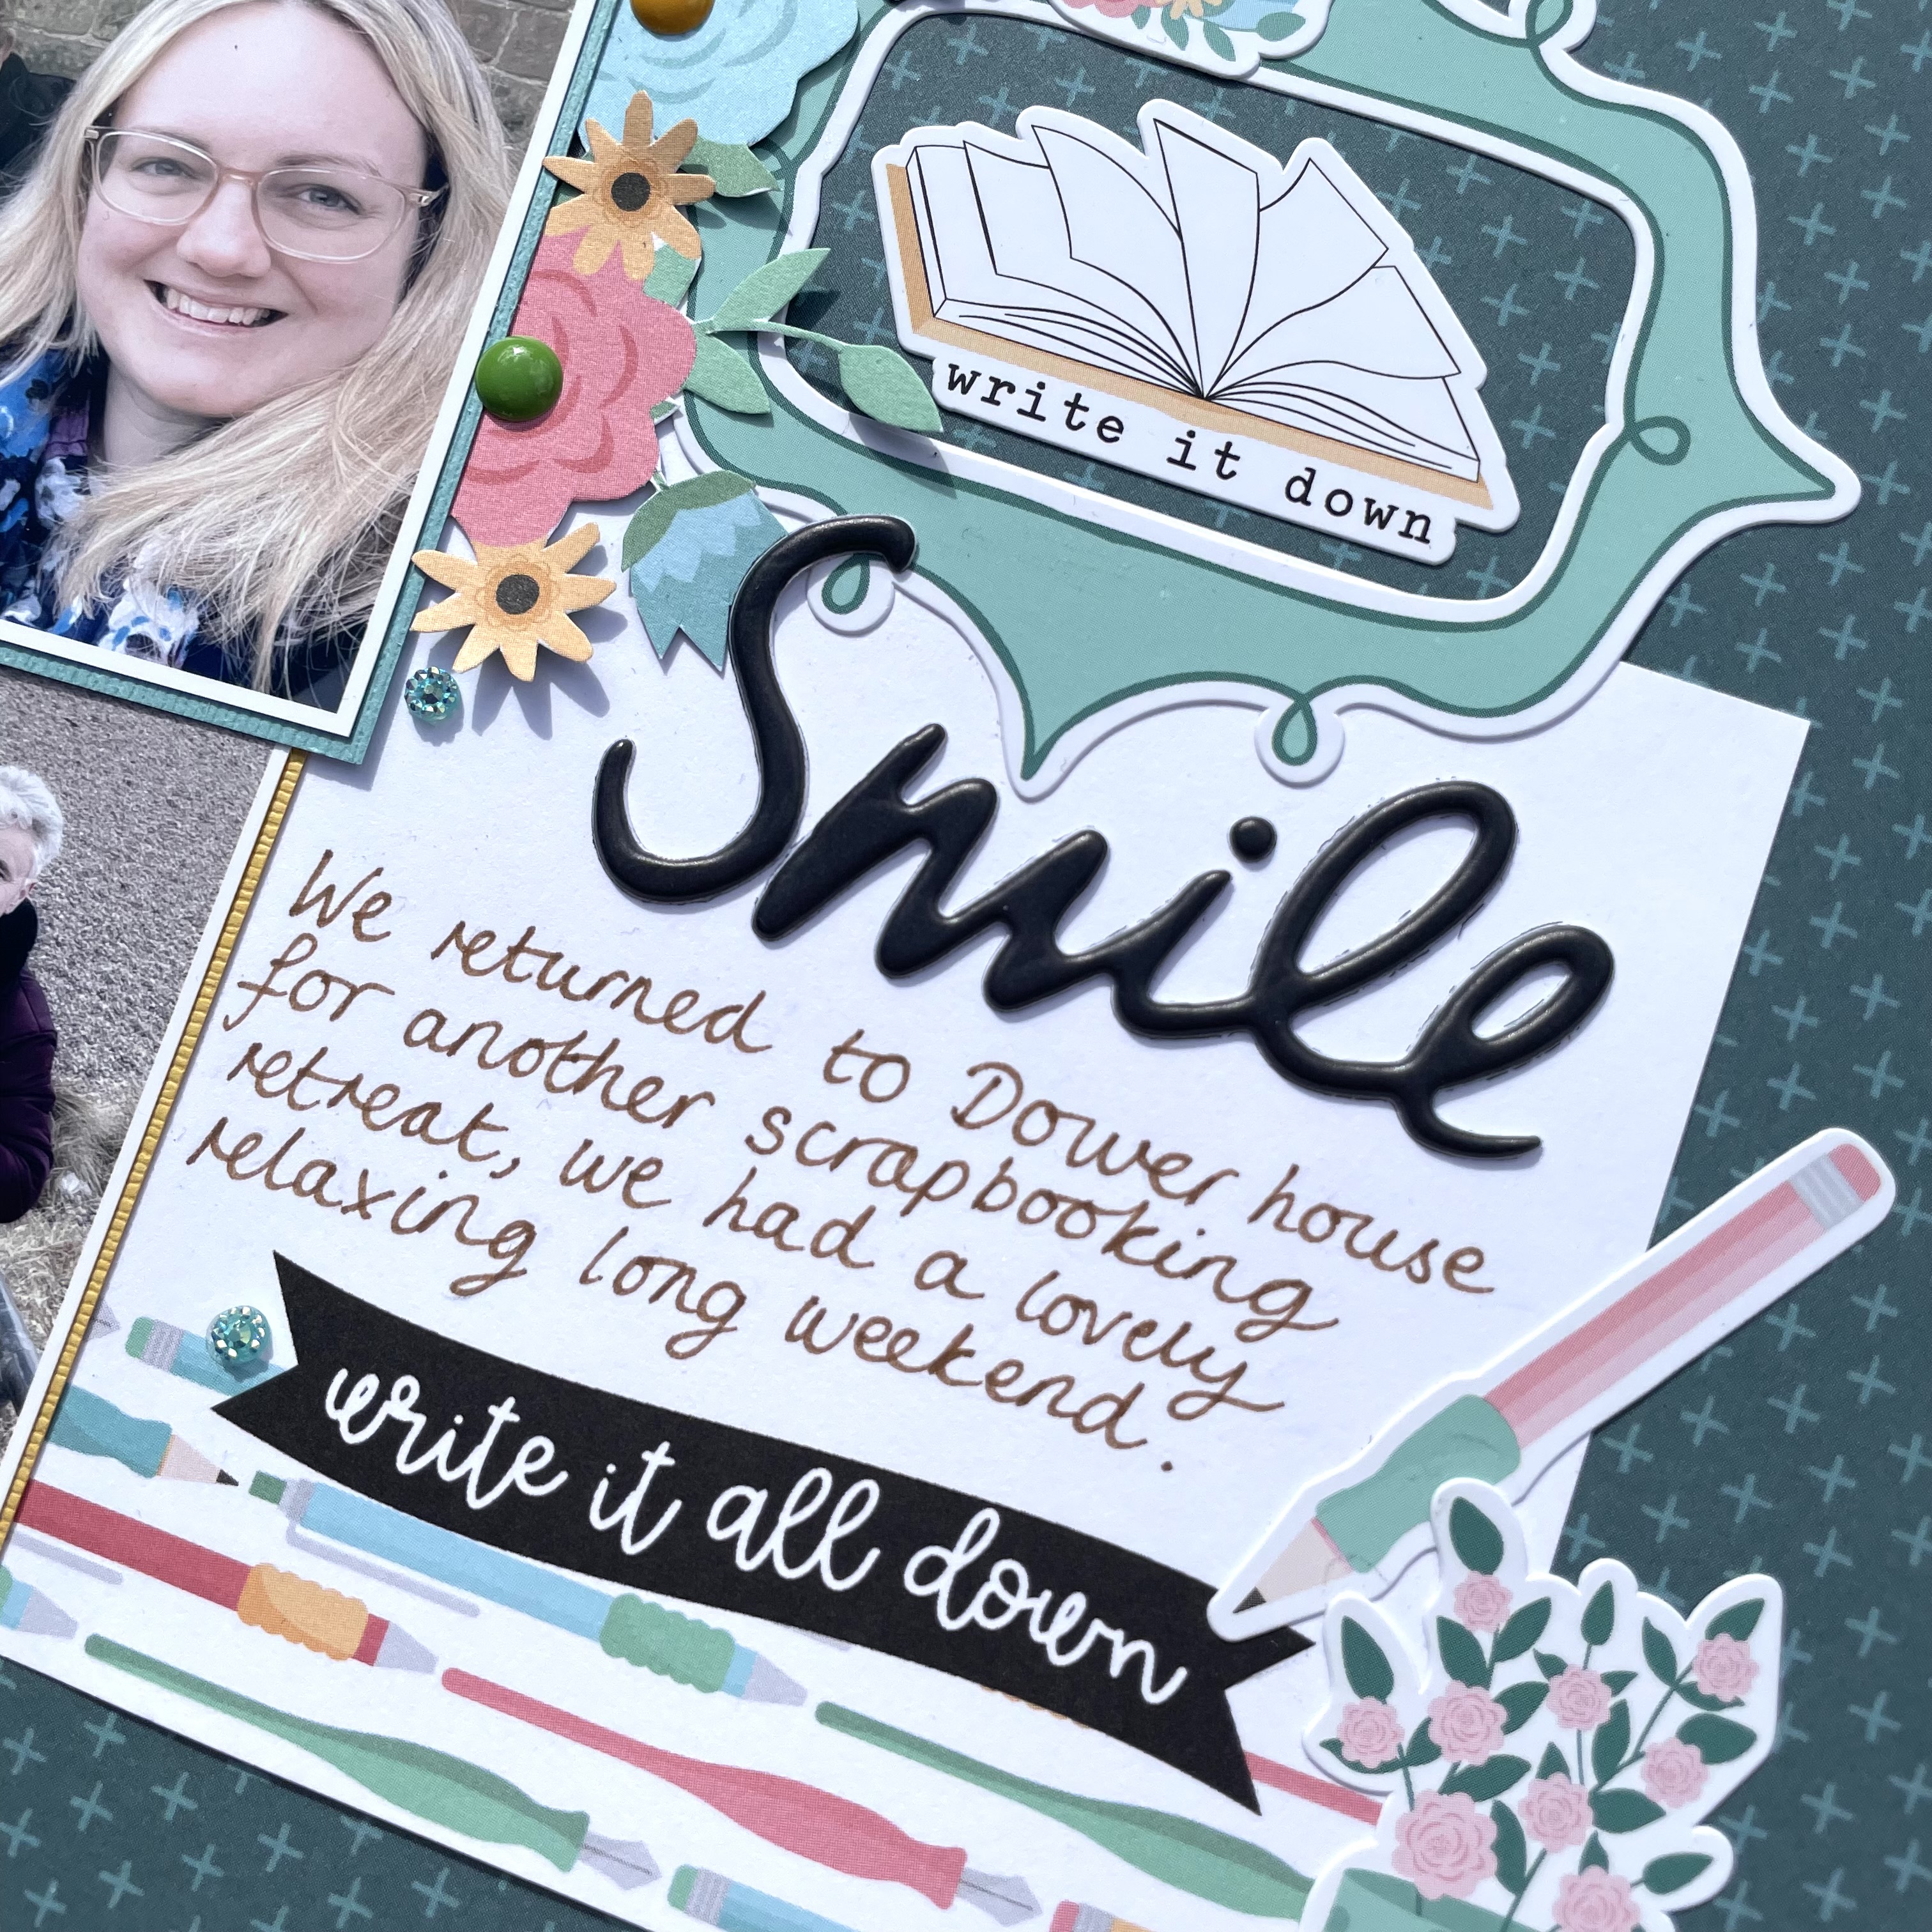
49 and Market - Colour Swatch Teal - Teal Paper 2
49 and Market - Spectrum Gardenia collection - Classics - Floral Serenade
American Crafts - Dreamer collection - Floral & Stamped Hearts
Pebbles - Cool Girl collection - Petals
Pebbles - Cool Boy collection - Tie Dye


Embellishments: 4 American Craft Puffy Icon Stickers, 2 paper tie on tags, 2 - 49 and Market acetate-filmstrips, 3 wooden butterflies, strip of pearls, 12" lace, 1 Woodware label clear stamp, 4 pieces Rosie's Studio floral ephemera


Bazzill Basics Cardstock - Coconut Swirl and Blue Calypso included in kit. Twilight and Jade, Romance and Juneberry included in extra Bazzill pack.


Blinky the Owl - A photo from a trip to Hall Place Gardens and the Jamb Owl Centre.


On my most recent visit to Papermaze, I treated myself to a tin of Distress Watercolour Pencils (set 2). I was keen to try these out, so I selected the colours, I felt complimented the papers in this kit - Mermaid Lagoon, Prize Ribbon, Kitsch Flamingo, Seedless Preserve and Iced Spruce. I scribbled some rays radiating from the centre of the sheet of Coconut Swirl Bazzill, Mixing two or three colours in each ray. Then I took a water brush and ran it along the length of the rays, and the colours blended beautifully. Once dry I trimmed this cardstock to measure 11" x 11".


I cut nine wedge shaped pieces from 'Petals' and 'Floral' papers. I distressed all the edges, and inked them with Black Soot Distress Ink. These were attached, over the rays, radiating out from the centre. With black thread and the sewing machine, I stitched around the outside of the cardstock. Then I stitched along the centre of each of the wedge shaped pieces. I used a combination of zig-zag and straight stitches. 


The white cardstock was mounted over the Juneberry Bazzill from the kit, this was gutted first. I placed my photo into the centre of the photo. With a set of Memory Box feather dies, I cut six feathers from scraps of papers already used. I inked the edges with more Black Soot. The feathers were scattered around the photo, using 3D foam pads.


Using my Cricut and a scrap of the Juneberry Bazzill I created my title, and stuck this to the bottom right of the photo. Then I added journalling with a black marker pen.


Finally, I added the pearls from the kit, in clusters of three, all over the page.


Caught on Film - My daughter on The Great Orme, trying out the video camera.


This layout uses a combination of cutfiles and Distress Oxide Inks. First, I cut the 'Filmstrips Background' Peartree Cutfile from some scrap cardstock. This was placed onto a sheet of smooth white cardstock, to be used as a stencil.


With a combination of Distress Oxide Inks (Villainous Potion, Shaded Lilac, Salvaged Patina and Salvaged Patina), I worked the ink over the stencil with a blending tool. Once the stencil was removed, I spritzed a little water over the page.


My photos were mounted onto white card and placed in the centre of the page. Then I cut the 'Caught On Film' Peartree Cutfile using the Jade Bazzill. I backed the cutfile with one tiny image, and white card. I wrote my journalling onto the card with a black marker pen. The date was created with Doodlebug Designs Alphabet Soup puffy stickers in Swimming Pool.


I added the three wooden butterflies from the kit, adding some DMC embroidery thread through the holes and tying it to create antenna. I also place the Rosie's Studio flower ephemera around the photos using some 3D foam pads. I punched some leaves using more of the scrap papers and tucked these around the flowers.


I finished off with some Nuvo Glitter Drops to highlight the leaves and flowers. Dots of Nuvo Crystal Drops were added to the background of the layout.

That's all for today, back with more layouts from this kit soon.
Thanks for looking.
Lynn x

Friday 12 April 2024

Echo Park ~ Telling Our Story #2 📷

 Hi all! 

Happy Friday and welcome back to the Papermaze blog. 

It’s Anna back today sharing my final layout with Echo Park - Telling Our Story. You can find the collection here

This collection is so versatile, it is suitable for your everyday scrapbooking, with lots of florals, cameras and frames, it’s great to document the everyday moments. 


For my second layout using this collection I began by using Storyteller Pages as my background. I had searched the internet to find a camera cutfile to match some of the cameras in the collection and I found this one by Cut to You. I cut it in bazzill powder blue cardstock and backed it with patterned paper and coordinating cardstock from the matchmaker pack


I mounted my photographs on to the b side of ‘Frame our Story’ and tucked them to the right of my cutfile. I also fussy cut a frame from this paper too, which I have tucked in ready to add a tiny bit of journalling to. 


I added some enamel dots to some of the pre printed florals on the patterned paper. 


I used some of the element stickers to finish the layout, I used ‘snapshots of our life’ as my title. 


And that was the layout completed! 


Thanks so much for looking! 
See you next month, when I’ll be sharing layouts using Simple Stories Just Beachy.
See you then. 
Anna
X

@acraftylifewithanna

Wednesday 10 April 2024

Mintay Papers - Playtime - Mini Album

Hello, Karen here. Today I have something different to share with you - a mini album. I usually use my design team kit to make scrapbook layouts but this time I thought the papers would be perfect for a  mini book. 


I created the basic album using this tutorial from Graphic 45 although I adjusted the sizes slightly. 


The basic album was created using a sheet of chipboard and a sheet of Bazzill Basics Lava Cardstock.


In the spine I created hinges for 6 double sided pages. The pages were created using the papers form the collection. I cut six 6x4 pieces which I folded in half and stuck to the hinges. By leaving some of the edges unstuck, I was able to create pockets for tags, etc. Pieces of paper #4 were stuck to the covers, inside covers and spine.


I decorated the pages of the album using the Paper Elements Pack. On the inside cover I stuck a  round scalloped image raising it on 3D foam. The edge of pages 1 & 2 were left open and a tag created from paper #04 and some bakers twine, tucked inside. Using a circle punch I cut a simi-circle from the side of the page to make it easier to remove the tag and repeated this on several of the other pages.


On page 3 (and 4) I glued two more round scalloped images, back to back, to the edge of the pages. This allowed me to slip a journalling card created from more of the Paper Elements, underneath the unstuck side of the Scalloped pieces.


Page 5 & 6 were left open at the top and a tag was slipped inside.


The Elements Pack contains some envelopes and one of these was glued to page no 7. This could be used to hold memorabilia, a photo, etc..


I cut a couple of slits near the bottom of page no 8 and another tag was slipped behind the 'band'. To embellish the band I added a cute fox cut from paper #9 with some 3D foam underneath to raise it up slightly.

Pages 9 & 10 were left open at the top and a tag slipped inside.


On page 11 and 12 I created pockets using labels from the Elements Pack. On Page 11 I put a tag into the pocket.


In the pocket on page 12 I put a mini notebook created from a scrap of paper from the collection and some white copier paper.

In side the back cover I added another envelope.


On the front and back cover I added cards cut from paper #06 which I matted onto red cardstock and added to the album covers with 3D foam underneath.


To close the album, red ribbon was glued to the back and front of the album before adding the images on top. To the front of the album I added some metal corners.


To decorate the spine I strung beads and charms from my stash onto some silver elastic and secured them to the spine, tying the elastic ends together on the inside.

I hope you like this mini album. I really enjoyed making it and the Playtime collection was perfect for this. 

I'll be back soon. Take Care.

Karen x x

Monday 8 April 2024

Moments - 49 and Market - Kaleidoscope Collection

Hi everyone, it's Rebecca with you today creating with the gorgeous Kaleidoscope collection from 49 and Market. I love how colourful this collection is - perfect for tropical holiday photos, or just your everyday memories. I've used the collection today to scrap a photo of my little man at our local crazy golf centre, so it goes to show how versatile and easy-to-use it is! You can find the collection in the shop here.


To begin, I selected the 3 large coloured panels from the Acetate Assortment Pack and laid them, overlapping in the centre, on a sheet of Premium White Cardstock. On top of these, I added my photo, housed in one of the Stacked Frames. I place the coloured part of the stacked frame behind my photo to add some separation from the coloured panels beneath. 


Above my photo, I slotted 2 'bingo' cards from the Ephemera Bits pack, matching the colours on the acetate panels. This pack of die-cuts is brilliant! It includes 127 die cuts and it's so varied that there's a bit of everything in it! 


Along the bottom of my framed photo I've added my title 'moments', again from the Ephemera Bits. I love how the black and white text mirrors the writing on my son's shirt in the photo - and the black adds a bit of drama too!


Either side of my photo, I've embellished using florals from the Laser Cut Outs - Wildflower and Laser Cut Outs - Elements packs and the Chipboard Set


I finished off the layout by applying some small rubs ons from the Essentials Rub on Transfers on top of the acetate panels. 


Thanks for reading! I hope you like the layout and it's given you some inspiration. If you like the look of this collection then head to the shop quickly as it's selling out fast!

See you next time!

Rebecca x

@preciouspagespapercraft 

Friday 5 April 2024

Simple Stories - Noteworthy - Memories Documented

Hi everyone,

Claire here today sharing a new layout made with the Noteworthy collection from Simple Stories

This collection is a pocket pages style collection, with lots of cut apart elements.  Although I don't make pocket pages, i'm always drawn to these collections. The patterns on the b sides are so much fun, you can really let your imagination run wild!   Add to that, the cut apart elements give you tonnes of mileage and really let you stretch the collection and bulk out your ephemera. It's a great value option.

I've used three major cut apart elements in this layout, creating a big statement just by fussy cutting.


To the Premium White Cardstock, I added a piece of the March paper, cut to 8.5" square with distressed edges, created by scuffing the edges of the paper with my scissors. Along the top, I used a punch to give a notebook edge look.

Using the cut apart elements from this paper, I cut two tall elements, a spiral notebook and envelope, from the March and June papers, and lay these on top of each other, slightly offset, to create an anchor for my photos to sit on.


I raised the spiral notebook piece on foam and cut right around the wire to help it look more authentic. I also added a foam sticker clip for extra interest. 

To balance the page across the square, I used another cut apart element, this time from the April paper. It had three coloured squares like Post It notes and I thought it would be perfect to house my photos. I flipped it horizontally across the page and adhered my photos on thin foam, showing just a bit of the coloured square underneath to help frame them.


To the left of the photo strip, I created a small cluster using floral ephemera, a sticker from the Cardstock Stickers and a clipboard from the Journaling Bits pack.


I also added a small floral cluster on the opposite end of the photo strip for balance.

Next, I added some of the cards from the Journaling Bits and stickers to the top of the photo strip to replicate a MemoryDex effect. I love how this part turned out - It's pulled all the colours, the paper elements and florals together in a single cluster. I think it's my favourite part of the whole layout.


To finish the layout, I added a bold title from the Foam Stickers, showcasing all the colours in the collection. As a final touch, I added the cute pencils to make it look like I'm ready to add journaling to the page.


This has been a really fun page to create - the colours in this collection are my favourite - lots of pinks, yellows and teals - what's not to love!

I'll be back in a few weeks with a second layout, and look forward to seeing you then.

Happy Scrapping!

Claire xx
@scrappysoulmate

Wednesday 3 April 2024

Echo Park ~ Telling Our Story #1 📖

Hi all, it’s Anna back with you today!
April is here and I’m here to share a layout featuring one of the latest collections by Echo Park - Telling our story. You can find the whole collection in the shop here


I wanted to step away from using my normal white bazzill background and instead chose one of the patterned papers from the collection - snapshot of our life.


I chose five photos that I wanted to include on this layout and mounted them in coordinating bazzill cardstock from the matchmaker pack


I used one of the 4x4 journalling cards to add some journaling and a title. For my title I selected ‘smile’ from the Vicki Boutin Discover + Create phrase stickers
I love to use this phrase stickers, they provide great titles for pages, without ending up with lots of leftover alpha stickers where you never have an ‘e’! 
You can find a broad selection of these types of stickers in the shop here
I also used a few extra stickers from this pack dotted around my layout. 


I fussy cut florals from Happy little flowers and added them in clusters around my layout. 


I finished by adding various stickers from the element stickers, including the frames which I tucked in around my photos. 
I finished the layout off by adding a few enamel dots


Thanks so much for looking! 
I’ll be back later in the month with another layout using this collection, see you then. 

Anna 
x

@acraftylifewithanna